Funnels 101
Funnels 101
A well-designed funnel guides potential customers through a seamless journey from awareness to conversion. With Lead LinQ, you can build and automate a high-performing funnel to maximize your leads and sales.
Step 1: Define Your Funnel Goal
Before setting up your funnel, determine what you want to achieve:
Lead Generation – Collect emails or phone numbers for follow-up.
Sales Conversion – Drive purchases directly through your funnel.
Webinar/Appointment Booking – Encourage sign-ups for events or consultations.
Membership or Course Enrollment – Build a funnel that nurtures and sells your online programs.
Step 2: Map Out the Funnel Stages
Every funnel consists of key stages. A simple high-converting funnel might look like this:
Traffic Source – Ads, social media, SEO, or email campaigns drive visitors.
Landing Page – A focused page with a strong offer and CTA.
Lead Capture Form – Collect emails or phone numbers for follow-up.
Thank You Page – Confirm submission and provide next steps.
Email/SMS Follow-Up – Automated sequence to nurture leads and drive conversions.
Step 3: Build Your Funnel in Lead LinQ
Lead LinQ makes it easy to create funnels with a drag-and-drop builder:
Step 3.1: Create a New Funnel
Navigate to Funnels > Create New Funnel
Select a template or start from scratch.

Start from scratch or choose from hundreds of funnel templates!

Step 3.2: Design Your Pages
Landing Page: Add a compelling headline, persuasive copy, and a clear CTA.
Lead Capture Form: Include fields for name, email, and phone number.
Thank You Page: Confirm submission and guide them to the next step.
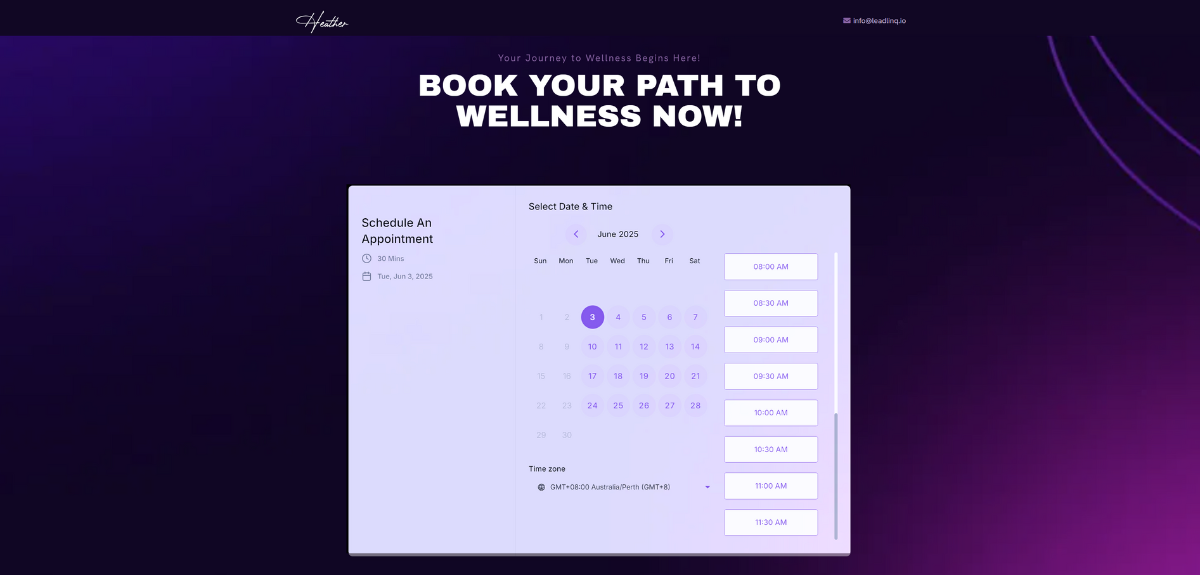
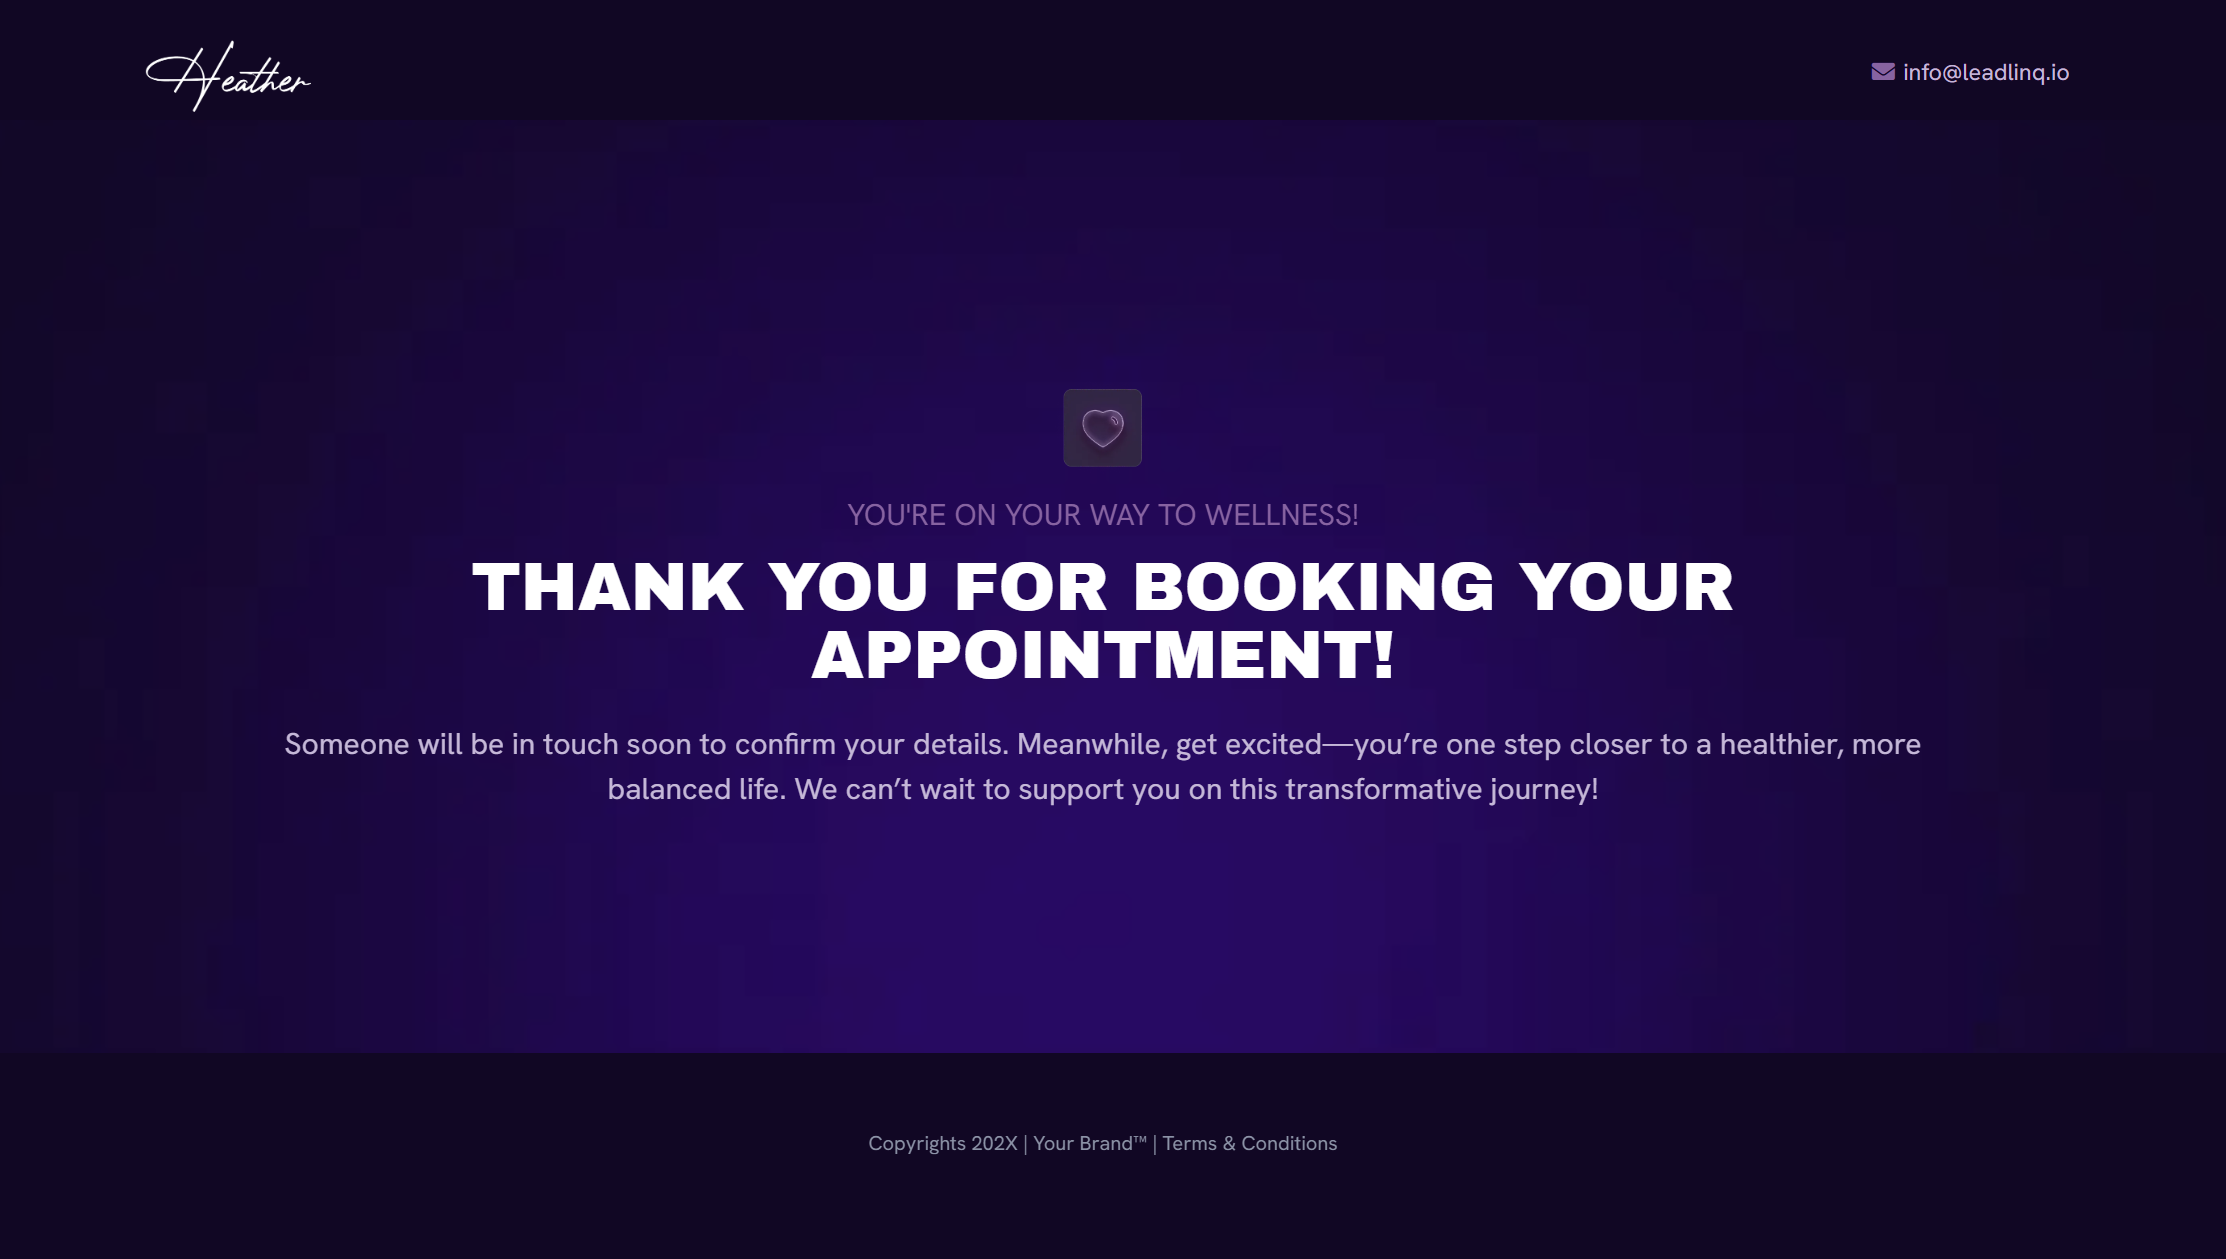
See an example below:

You can add in details about your business or specific offer - defending on the purpose of your funnel.

Add in testimonials and reviews to add credibility to your offer

The CTA buttons shown above then leads to the Lead Capture Form
In this case, the lead capture form is a calendar, selecting an appointment time and filling out their details on the next page.

Once you've captures the lead details, send them to a Thank You Page that tells them that they are at the end.

Step 3.3: Set Up Automated Follow-Ups
In the above case, you would set up your calendar with confirmation notifications to yourself (or any other staff) and the lead who just booked. Do this in the Calendar settings.
Depending on the purpose of your ad / funnel, you may want to add them into a nurture campaign,
How to:
Go to Automations > Create Workflow > Start from Scratch.
Choose a trigger (e.g., form submission, email opt-in, purchase made).
Add Email & SMS Sequences to nurture leads with valuable content and offers.
For example: The automation below starts with a form submission

You can write emails in the action directly or add a template (as shown below)

Step 4. Optimize for Maximum Conversions
A/B Test Pages & Offers
Experiment with different headlines, CTAs, and designs. You can direct 50% of the people to see the A page of the ad and 50% to see the B page.
To create variations - click on Sites > Funnels > Create variation.
Pro tip: Change one significant thing per test. Then you'll know what you improved when one performs better. That becomes your A page, then you can change something else to always improve.

Monitor Analytics
Track conversion rates and optimize low-performing steps.

Retarget Drop-Offs
Use ads or emails to re-engage users who didn’t complete the funnel.
Option 1: Create an Automation to Capture Drop-Offs
Navigate to Automations > Workflows > Create New Workflow.
Use a Trigger like “Funnel Step Visited” but “Form Not Submitted” or “No Purchase.”
Add a Wait Step (e.g., 1-2 hours) to see if they complete the action.
If not, send a follow-up email or SMS reminder with a compelling message.
Option 2: Set Up a Facebook/Google Retargeting Ad
Install the Facebook Pixel or Google Tag in your funnel settings.
Create a custom audience of users who visited your funnel but didn’t convert.
Run an ad with a strong reminder, limited-time offer, or social proof.
Option 3: Send a Follow-Up Email & SMS Sequence
Email 1 (24 hours later): “Hey, you left something behind! Need help?”
Email 2 (48 hours later): “Limited-time offer! Complete your sign-up now.”
Email 3 (72 hours later): “Last chance—exclusive bonus if you act now!”
Option 4: Test & Optimize
A/B test subject lines, SMS messages, and retargeting ad creatives.
Adjust retargeting duration (e.g., 7 days vs. 14 days) to find the best conversion window.
Step 5. Scale & Automate
Once your funnel is performing well, scale your traffic sources, refine messaging, and automate your nurturing sequences. With Lead LinQ, your funnel works on autopilot, turning leads into customers 24/7. Start small, test, then spend more on ads that perform and convert.

